
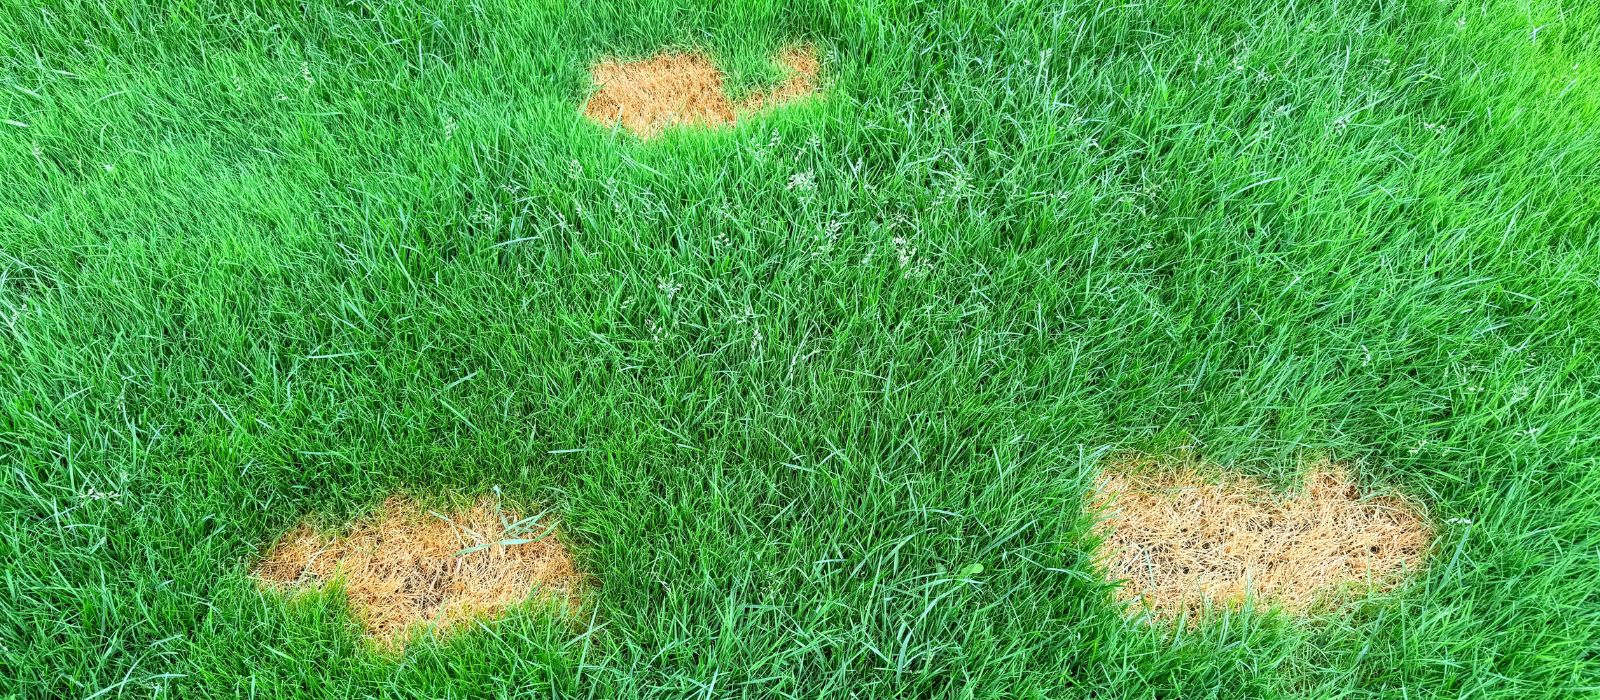
Bare patches can quickly take the shine off an otherwise healthy lawn. Whether they're caused by heavy foot traffic, playful pets, dry conditions or compacted soil, the good news is that most patchy lawns can be repaired without having to start again.
Repairing bare patches is a relatively simple gardening job, but the secret to success lies in preparing the soil properly, choosing the right seed and giving new grass the care it needs to establish.
With a little preparation, the right lawn seed, and simple ongoing care, you can bring your lawn back to life.
Follow our step-by-step guide to fill those gaps and get your lawn looking lush, green and healthy again.
Why Do Bare Patches Appear?
Before reaching for the lawn seed, it's worth understanding why your grass has stopped growing in the first place. Identifying the cause will help prevent the same problem from returning.
Common causes include:
Heavy foot traffic: Regular walking, playing or running over the same area can compact the soil, making it difficult for grass roots to grow and access water, nutrients and oxygen.
Pets: Dogs can wear down grass in their favourite running spots, while concentrated urine can sometimes cause yellow or brown patches.
Dry conditions: Extended periods without sufficient moisture can stress grass, causing it to thin out or die.
Compacted soil: Hard, tightly packed soil restricts root growth and prevents water from soaking in effectively.
Shade: Areas beneath trees, beside fences or close to buildings may struggle to receive enough sunlight for healthy grass growth.
Pests and diseases: Grass grub, fungal diseases and other lawn problems can damage grass roots and leave bare patches behind.
Poor soil conditions: Soil lacking nutrients, organic matter or adequate drainage can make it difficult for grass to establish.
If your lawn continues to develop bare patches in the same areas, addressing the underlying problem is just as important as reseeding.
When Is the Best Time to Repair Your Lawn?
Spring and autumn are generally the best times to repair patchy lawns in New Zealand.
During these seasons, soil temperatures are usually warm enough to encourage germination, while milder weather helps prevent newly sown seed from drying out too quickly.
Spring is ideal for repairing winter damage and getting your lawn ready for summer. Autumn is another excellent opportunity, as cooler temperatures and more reliable moisture help young grass establish before winter.
For the best results, aim to sow when soil temperatures are consistently around 10°C or warmer, although the ideal temperature will depend on the grass varieties in your seed mix.
Avoid sowing during very hot, dry weather, heavy rain or when frost is likely, as these conditions can make successful germination more difficult.
Step 1: Prepare the Bare Patch
A healthy lawn starts with healthy soil, so don't be tempted to simply scatter seed over the bare patch and hope for the best.
Start by removing dead grass, weeds, stones, and loose debris from the affected area. Use a garden rake to clear the surface and expose the soil underneath.
Next, use a rake or garden fork to gently loosen the top 3–5cm of soil. If the ground is particularly hard or compacted, you may need to loosen it a little deeper.
Why is this important?
Grass seed needs direct contact with the soil to absorb moisture and begin germinating. When the ground is hard or compacted, water struggles to penetrate and developing roots have difficulty establishing.
Loosening the soil improves aeration, water movement, and root development, giving your new grass a much better start.
If the patch has been caused by pet urine, water the affected area thoroughly to help dilute and flush away excess salts before preparing the soil. For severely damaged areas, you may need to remove and replace the affected surface soil.
Oderings tip: If you're repairing an area with existing grass around the edges, gently rake into the surrounding lawn too. This will help the new grass blend naturally with the established lawn.
Step 2: Improve and Level the Growing Layer
Once the soil has been loosened, check whether the patch is level with the surrounding lawn.
If the area has become sunken or the existing soil is poor quality, add a thin layer of quality lawn soil or fine, screened topsoil.
Spread it evenly across the patch with the back of a rake, gently working it into the loosened soil and levelling the surface to match the surrounding grass. Avoid creating a thick, loose layer that may settle unevenly after watering.
Why add lawn soil?
A good lawn soil provides a suitable growing environment for developing grass roots. It can improve soil structure, moisture retention, and drainage, particularly where the original soil is heavy, compacted, or low in organic matter.
Levelling the patch is also important. Low spots can collect water, increasing the risk of waterlogging, while raised areas may dry out more quickly or become scalped when mowing.
The goal is a fine, even surface that is firm enough to support the seed but loose enough for young roots to grow.
Oderings tip: If your soil is heavy clay, avoid working it when it's very wet. This can damage soil structure and worsen compaction.
Step 3: Sow Your Lawn Seed Evenly
Before sowing, lightly rake the prepared soil to create a fine, even seedbed.
Scatter the lawn seed evenly across the patch, working in two directions. Start by sowing half the recommended amount in one direction, then scatter the remaining half at right angles to the first application.
Why sow in two directions?
This simple technique helps distribute seed more evenly, reducing the chance of missed areas or clumps of grass once germination begins.
Follow the application rate on the seed packaging. Applying too little seed may leave gaps, while sowing too heavily can cause young grass plants to compete for light, moisture and nutrients.
For a more natural finish, extend the seed slightly into the surrounding lawn to help blend the repaired area with the existing grass.
Oderings tip: Choose a lawn seed that suits your garden's conditions, including sunlight, foot traffic, and how often you maintain your lawn. Matching the grass type to your existing lawn will also help it look more consistent.
Step 4: Firm the Seed into the Soil
Once you've scattered the seed, gently firm the surface using the back of a rake, a flat board or by lightly pressing it down.
You can also use a rake to very lightly work the seed into the top few millimetres of soil, following the sowing depth recommended on the packet.
The aim is to ensure the seed has good contact with the soil without burying it too deeply.
Why does seed-to-soil contact matter?
Grass seed needs moisture to germinate. When seed sits loosely on the surface, it can dry out quickly, blow away or be washed into uneven clumps.
Firming the soil keeps the seed in place and helps it absorb moisture more consistently.
However, avoid compacting the surface too heavily. Young grass roots still need air spaces in the soil to develop.
If birds are a problem, consider using suitable bird netting or a light protective covering that won't smother the seedlings.
Step 5: Water Gently and Consistently
Watering is one of the most important parts of establishing a new lawn successfully.
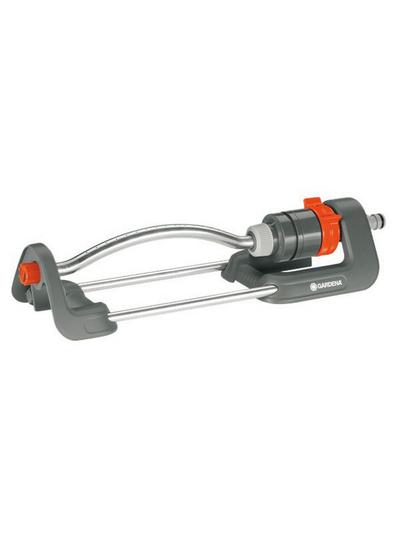
Immediately after sowing, water the patch using a hose with a gentle spray nozzle or a sprinkler set to a fine spray.
Apply enough water to moisten the seedbed without creating puddles or washing the seed away.
During germination, the upper soil layer needs to stay consistently moist.
Depending on the weather, this may mean watering lightly once or twice a day, or more frequently during warm, windy conditions.
Why is consistent moisture so important?
Grass seed needs water to germinate. If the seed dries out after this process has begun, germination can be delayed or the developing seedling may die.
On the other hand, excessive watering can waterlog the soil, reduce oxygen around the seed and encourage fungal problems.
The goal is moist soil, not saturated soil.
Once the grass has germinated and started developing roots, gradually reduce watering frequency while increasing watering depth. This encourages roots to grow further into the soil in search of moisture.
Oderings tip: Check the soil with your finger rather than relying on how the surface looks. If the top layer is beginning to dry out, it's time for another gentle watering.
Step 6: Give Your New Grass Time to Establish
After all that preparation, patience is key!
Depending on the grass variety, soil temperature, and growing conditions, lawn seed may begin germinating in about 5–21 days. Some varieties can take longer, particularly in cooler weather.
You'll first notice tiny green shoots appearing across the surface. These delicate seedlings are still developing their root systems, so keep caring for the area.
Keep Foot Traffic to a Minimum
Avoid walking, playing or allowing pets onto the repaired patch while the grass is establishing.
Young seedlings can be easily damaged or pulled out of the soil before their roots have developed properly.
If the patch is in a busy area, consider temporarily fencing it off or placing a small barrier around it.
When Should You First Mow?
Wait until your new grass reaches approximately 7–8cm tall before considering its first mow, or follow the recommendation for your particular grass variety.
Make sure the soil is firm and dry enough to support the mower without leaving ruts or pulling out young plants.
Use sharp mower blades and remove no more than one-third of the grass height in a single mow.
Avoid cutting the grass too short, as young lawns need plenty of leaf growth to produce energy and establish strong roots.
How to Prevent Bare Patches from Returning
Once you've repaired your lawn, a little ongoing maintenance can help keep it looking its best.
Water deeply: Established lawns generally benefit from less frequent, deeper watering rather than constant light watering. This encourages stronger, deeper roots.
Mow at the right height: Avoid cutting your lawn too short, especially during summer. Slightly longer grass helps shade the soil and retain moisture.
Reduce compaction: Aerate heavily used areas when conditions are suitable to improve airflow, water penetration and root development.
Manage pet traffic: Rotate play areas where possible and prevent pets from repeatedly running over newly repaired patches.
Feed appropriately: Use a suitable lawn fertiliser during the growing season to replenish nutrients and encourage healthy growth.
Address drainage problems: If water regularly pools in certain areas, investigate the drainage rather than repeatedly reseeding.
Keep an eye out for pests: If patches appear suddenly or grass lifts away easily from the soil, investigate possible root damage from lawn pests.
Frequently Asked Questions
Can I Just Throw Lawn Seed Over a Bare Patch?You can, but you're unlikely to achieve the best results. Seed scattered over hard ground, dead grass or debris may struggle to make contact with the soil. Preparing and loosening the surface first will significantly improve the chances of successful germination.