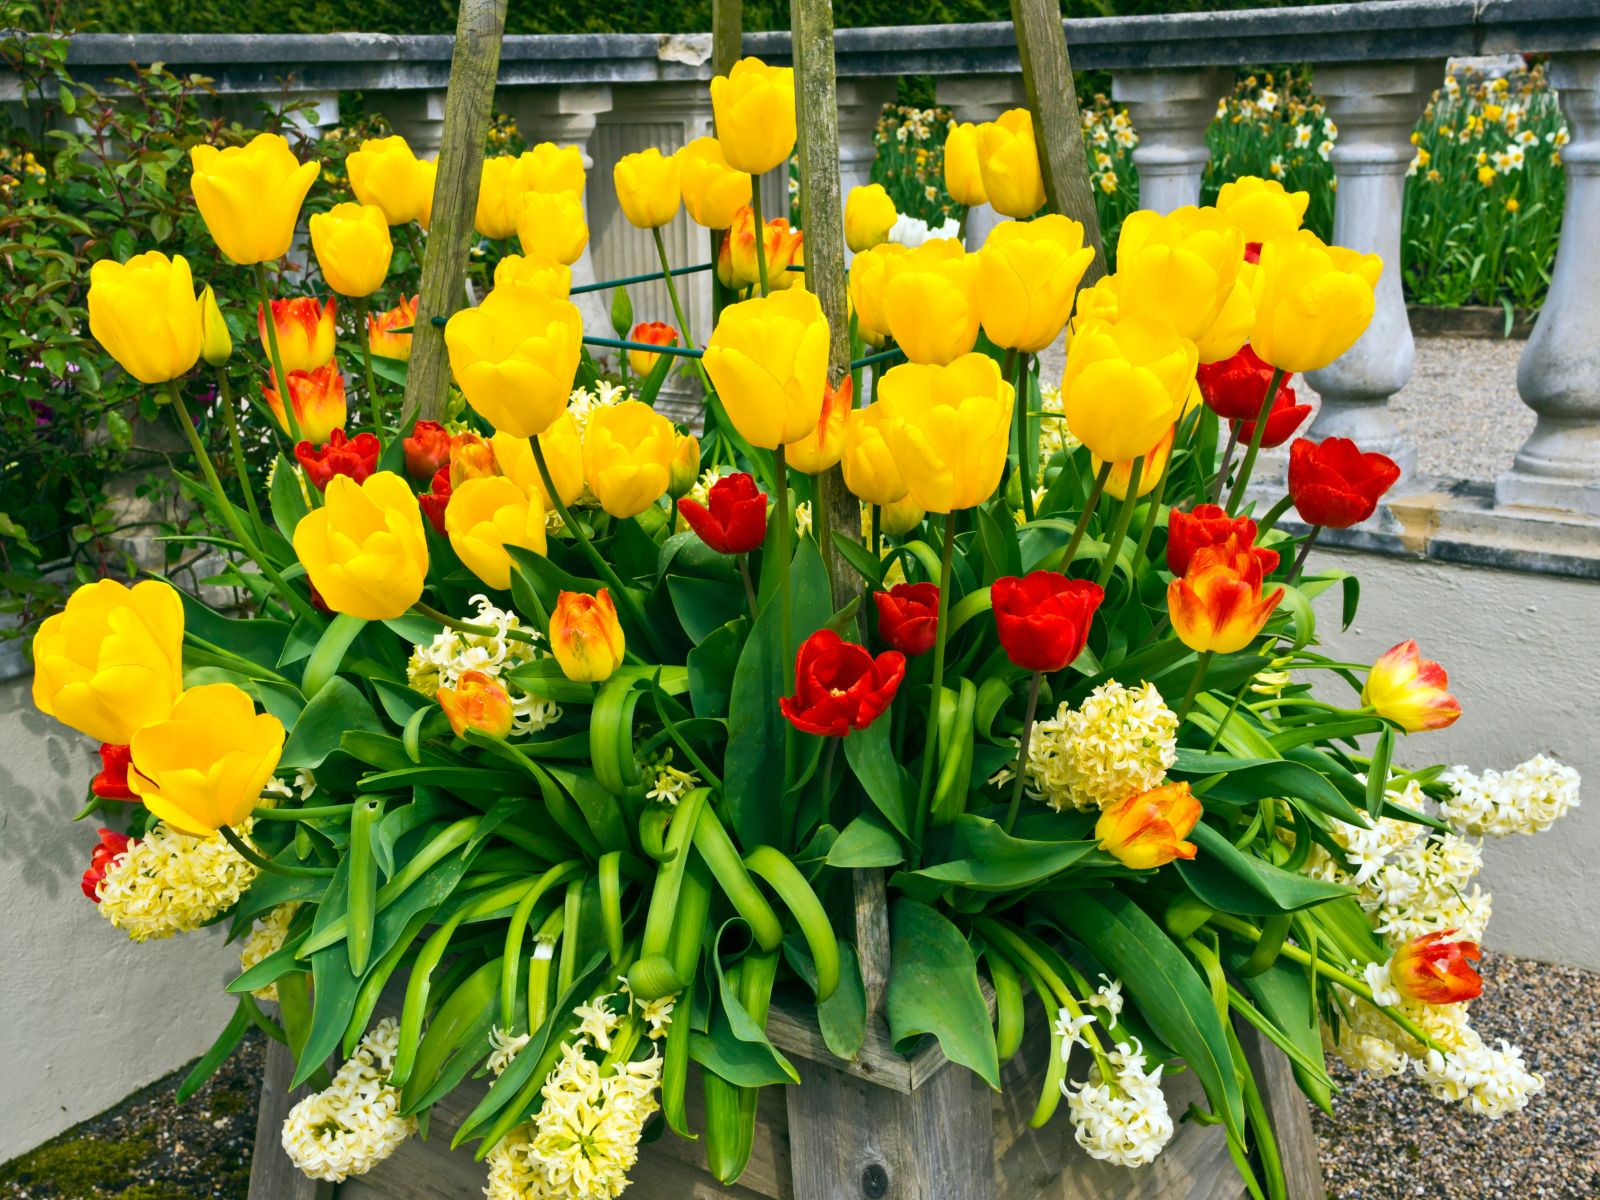
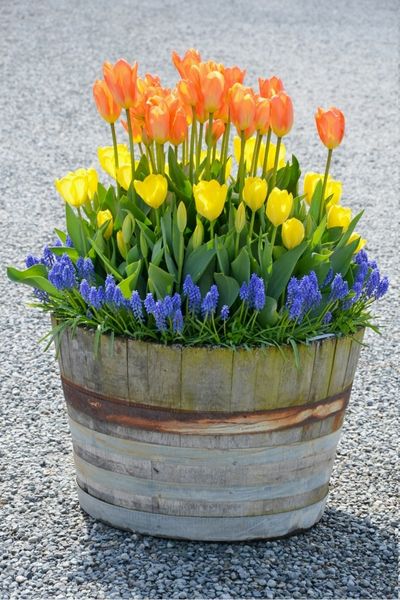
Do you want to get the most out of your spring bulbs, have you heard of planting a Bulb lasagna? This is a technique used to create a display of spring-flowering bulbs in a single container. It involves planting different types of bulbs in layers, like a lasagna.

The bulbs are planted at different depths, with the largest and deepest planted bulbs, such as tulips, or large variety daffodils at the bottom, followed by smaller bulbs, such as small variety daffodils or crocuses, in the middle, and the smallest and shallowest planted bulbs, such as mascari or hyacinths, at the top.
This method allows for extended bloom time, by planting bulbs with different bloom times, you can enjoy a longer period of colorful blooms in a single container or area of your garden.
It’s a great Space-saving option for small space, allowing you to plant multiple layers of bulbs in a single container, creating a visually appealing display. While also getting more blooms per square foot of garden space, making it a cost-effective gardening option.
Overall, planting a bulb lasagna is a fun and rewarding gardening technique that can bring a burst of color and beauty to your garden in the springtime.

Here are 10 easy steps to plant your own bulb lasagna:
- Choose a container deep enough to accommodate your bulb layers.
- Ensure your container has good drainage holes to ensure your bulbs don’t sit in saturated soil and rot.
- Select bulbs: Choose a variety of bulbs with different bloom times and heights, such as tulips, daffodils, crocuses, hyacinths, and muscari. Make sure the bulbs are healthy and firm.
- Prepare the soil: Add a layer of about 10cm-15cm of tūī bulb mix to the bottom of the container or area, making sure it's level.
- Plant the first layer of bulbs: Plant the largest and deepest bulbs, at the bottom of the container, ensuring the are planted at twice the depth of their size. Place them about 2-3 inches apart.
- Add the second layer: Add a layer of Tui Bulb Mix on top of the first layer of bulbs and plant the next layer of bulbs, such as mid-season bloomers like hyacinths or crocuses, ensuring the are planted at twice the depth of their size. Plant them closer together than the first layer, about 1-2 inches apart.
- Plant the final layer: Add another layer of Tui Bulb Mix on top of the second layer of bulbs and plant the smallest and shallowest bulbs, such as hyacinths or muscari.
- Cover with soil: Add a final layer of Tui Bulb Mix on top of the last layer of bulbs, making sure they are planted at twice the depth of their size.
- Water: Give the bulbs a good watering to help settle the soil and start the growth process.
- Add mulch: Cover the soil with a layer of mulch such as pea straw or moss to help retain moisture and regulate the temperature.
With these steps, you can create a beautiful and colorful display of spring-blooming bulbs in a single container.


 Oderings Garden Centres
 Oderings Garden Centres